There’s nothing that connects people like a shared meal or a comforting dish that’s been made with love. When the food is just too good not to be replicated again and again, that’s where a DIY recipe book shines. It can feature all of those special dishes that have stayed in the family for generations or those that have been feasted on at friends’ houses, with plenty of warm memories sprinkled on top.
But if you’re not sure how to make a family recipe book from scratch, we’re here to help. In this article, we’ll take you step-by-step through the process of designing your own cookbook so you can share your culinary love with family and friends.
Gather your favourite recipes
Perhaps the most time-consuming part of making your own recipe book is deciding which recipes to include. If you’re making a recipe book of family favourites, chat with relatives to see if they have any specialties to include that have been passed down through the generations. An alternative approach is to collect recipes from online blogs or budding chefs in your community, as well as featuring some of your own creations. If the recipe isn’t your own, it’s always a good idea to credit the visionary behind the dish.
Digitise your recipes
At this point, you probably have an assortment of handwritten recipes, photographs from cookbooks and bookmarks for online foodie blogs. So you need to decide how you want to present the recipes in a way that is uniform and clear. We recommend transcribing all of your recipes into a word document using a font that you love. Remember to keep the formatting the same on each, whether that’s having a bold title, bullet-pointing the ingredients or italicising important points so they’re not overlooked.
Organise your recipes
You now need to put your recipes into a logical order in the way you’d like them to appear in the recipe book. In most cookbooks, this means beginning with starters, moving onto mains and then desserts and drinks. But you can get creative in presenting your recipes however you prefer. Once you’ve done so, write up a table of contents that will appear at the front of the recipe book for easy reference. You may also want to include an introduction to explain the inspiration behind your cookbook or why you selected the recipes you did.

Find accompanying images
Adding images to your recipe book is completely optional but it does add a lot of visual appeal. There’s nothing quite like flicking through a cookbook and being inspired by a decadent looking dish and imagining it being served at your next dinner party. You might want to create all of the dishes and capture your own photos, with a bit of contemporary styling thrown in. Otherwise, you can ask the original creator (family member or friend) to send an image of their own or you can scour royalty-free image websites to find a photo that matches the recipe.
Select your recipe book design
Now you need to decide which photo book or album type you want to use for your recipe book. This may be determined by the number of recipes and images you want to include or how practical you want the cookbook to be. If you’ve got a lot of recipes and images, you might want to opt for one of our photo books, which can feature up to 244 pages. But we highly recommend one of our layflat albums as the pages will lie completely flat and you won’t find yourself in a sticky situation trying to keep it open mid-preparation.
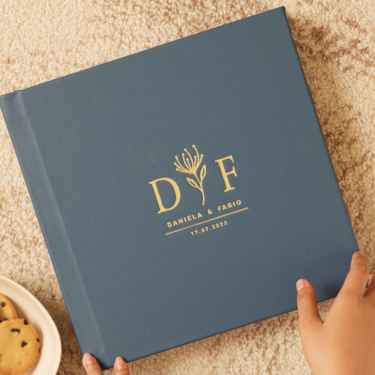
Once you’ve decided on the type of photo book or album for your personalised recipe book, you can customise it with your choice of cover (photo cover, genuine leather, animal-friendly leatherette or linen). You can also add a title (either laser etched or embossed) to reflect the culinary creations that lie within.
Lay it all out
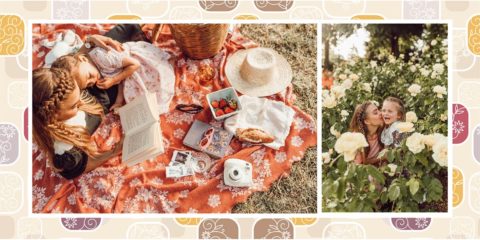
Now comes the fun part – laying out your recipes and photos in a way that’s visually appealing and makes logical sense. Flick through some of the other cookbooks you own to figure out what you like, whether that’s full-page spreads (a recipe on one side and a photo on the other) or a single page per recipe (with or without a photo). Remember, you can also mix it up and use both styles, as long as it’s clear for the reader to know which photo corresponds with which recipe.
To place your text, you can either paste it into the text boxes provided or take a screenshot and add it just like you would an image. Once you’ve added any accompanying photos, you can move things around until you get the look and feel you desire. If you’re a whizz with graphics, you might also want to add in some decorative elements to separate the ingredients list and method of each recipe.

Print and present
Once you’re 100% happy with your recipe book design, it’s time to have your cookbook printed and brought to life. A handmade recipe book makes for an ideal present, particularly if you’re looking to gift thoughtfully during the holidays or for upcoming birthdays. You can print one for yourself and duplicates for family members, contributors and friends who share your love of gastronomy.
Want to create a cookbook but unsure of the design process? Don’t hesitate to get in touch with one of our design experts who will help turn your DIY recipe book into a reality.

