If you’ve been rummaging through old family photo albums, you might be concerned about preserving your family memories to ensure they are accessible for generations to come. In this guide, we’ll show you step-by-step just how easy it is and provide you with the resources you need to get started.
Also read: How to make a stunning photo book effortlessly
1. Sort, Discard and Organize
First things first. Organizing your old family photos begins with sifting through old albums and removing photos from frames. It might mean asking grandma what photos she has stashed away or venturing into the attic or basement to see what is in those unopened boxes of treasure.
When it comes to dealing with old albums, the protective plastic sheets used to hold the photos in place may be completely useless and the photos will just slide out. In other instances, the photos may be stuck to the pages and tricky to shift. If this is the case, a piece of dental floss run from one corner to the other typically does the job!
Expert tip: If you come across an old photo that has become stuck to the glass of its frame, avoid pulling it off as you risk ruining the image completely. Instead, you can scan the entire thing, including the frame, and then use a few retouching tricks to get rid of the glassy appearance.
As you remove and sort through your images, be sure to jot down names, dates and locations that might have been written in the album or on the back of the photo. It’s often the stories behind the images that make them so important in telling your family story.
Once you have your photos sorted, put aside any that are badly damaged and/or beyond restoration. Then organize the others in chronological order, so that they are ready to be scanned, digitized and stored.
2. Scan and Digitize
One of the most important steps in preserving old photographs is creating a digital copy that stands the test of time. You want it to be as close to the original as possible, which means either investing in a high-quality photo scanner that can achieve a resolution of at least 600 DPI or sending your images to a professional.
While higher resolution scanners take longer and use up more disk space, the results are worth it (particularly when you consider that technology is only improving and what’s considered high-resolution today may not seem so in a few years to come). Be sure to gently wipe off any dust or imperfections using a microfibre cloth prior to scanning!
It’s also possible to just take a picture of the photo using your camera phone, although the quality will never be as good as scanning the image. If you do opt for this method, be sure to place the photo flat and near a source of natural light while avoiding any shadows or glare. Then take the image from above looking straight down so there is no curvature or distortion.
Expert tip: If you do not have a scanner, but still want better quality photo captures, a good compromise is using a scanner app such as Google PhotoScan, Microsoft Lens, Adobe Scan, and Pic Scanner.
If your budget allows, the best option is to take your old photos to a professional digitizing and scanning service as they will have top-of-the-range equipment at their fingertips. The quality of professionally scanned photos is second-to-none.
Once you have your old photos scanned and digitized, be sure to name them using a predetermined system. Naming your images with the date, location and subject is a popular convention but you might prefer that their titles reflect where you found them (eg. which album) or the family member they belong to.
3. Edit and Optimize
One of the benefits of sending your old photos to a professional restorer is that they will do the hard work of making them look like new. This might involve restoring the original colours, removing any creases and scratches or getting rid of yellow corners.
If you’re skilled in using Photoshop, these are edits that you can do yourself using simple functions. It might be possible to crop out any torn and creased edges and an easy adjustment of color balance and/or brightness can help restore faded colors.
That being said, there’s no reason that you absolutely must optimize your old photos and bring them up to today’s standards. Part of the character of your old family photos could be their signs of wear, tear and ageing, which is all part of their natural deterioration.
Here at PikPerfect, we offer standard photo editing for free, as part of our album design service. More detailed editing, for instance, removing backgrounds etc, is offered as a paid service depending on the amount of editing needed.
4. Use a Cloud Service for Storage
While you can back up your digitized photos on a storage card, in a computer folder or on an external hard drive, there’s always a chance of malfunction. But with cloud storage, you’ll have the peace of mind that your family memories are preserved forever and can be accessed whenever needed. The other advantage of cloud storage is that it is potentially limitless, so you aren’t restricted by the size of your hardware.
You can easily store your old family photos using Dropbox or Google Photos, both of which offer a limited amount of space for free (as well as paid plans if you have more you want to store).
5. Organize Your Photos Into a Family Photo Album
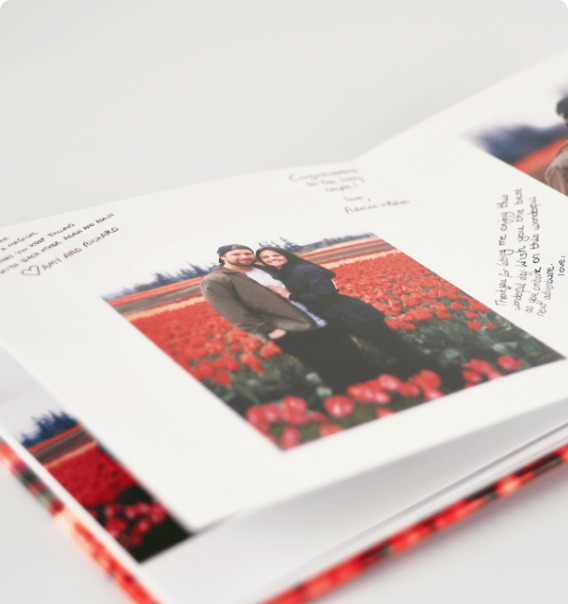
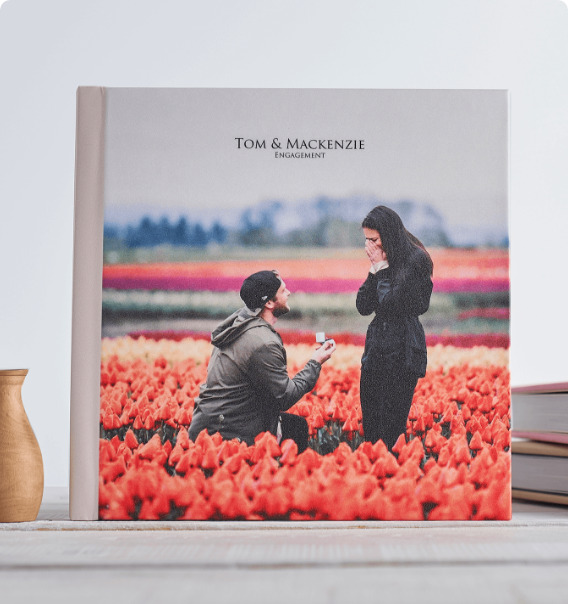
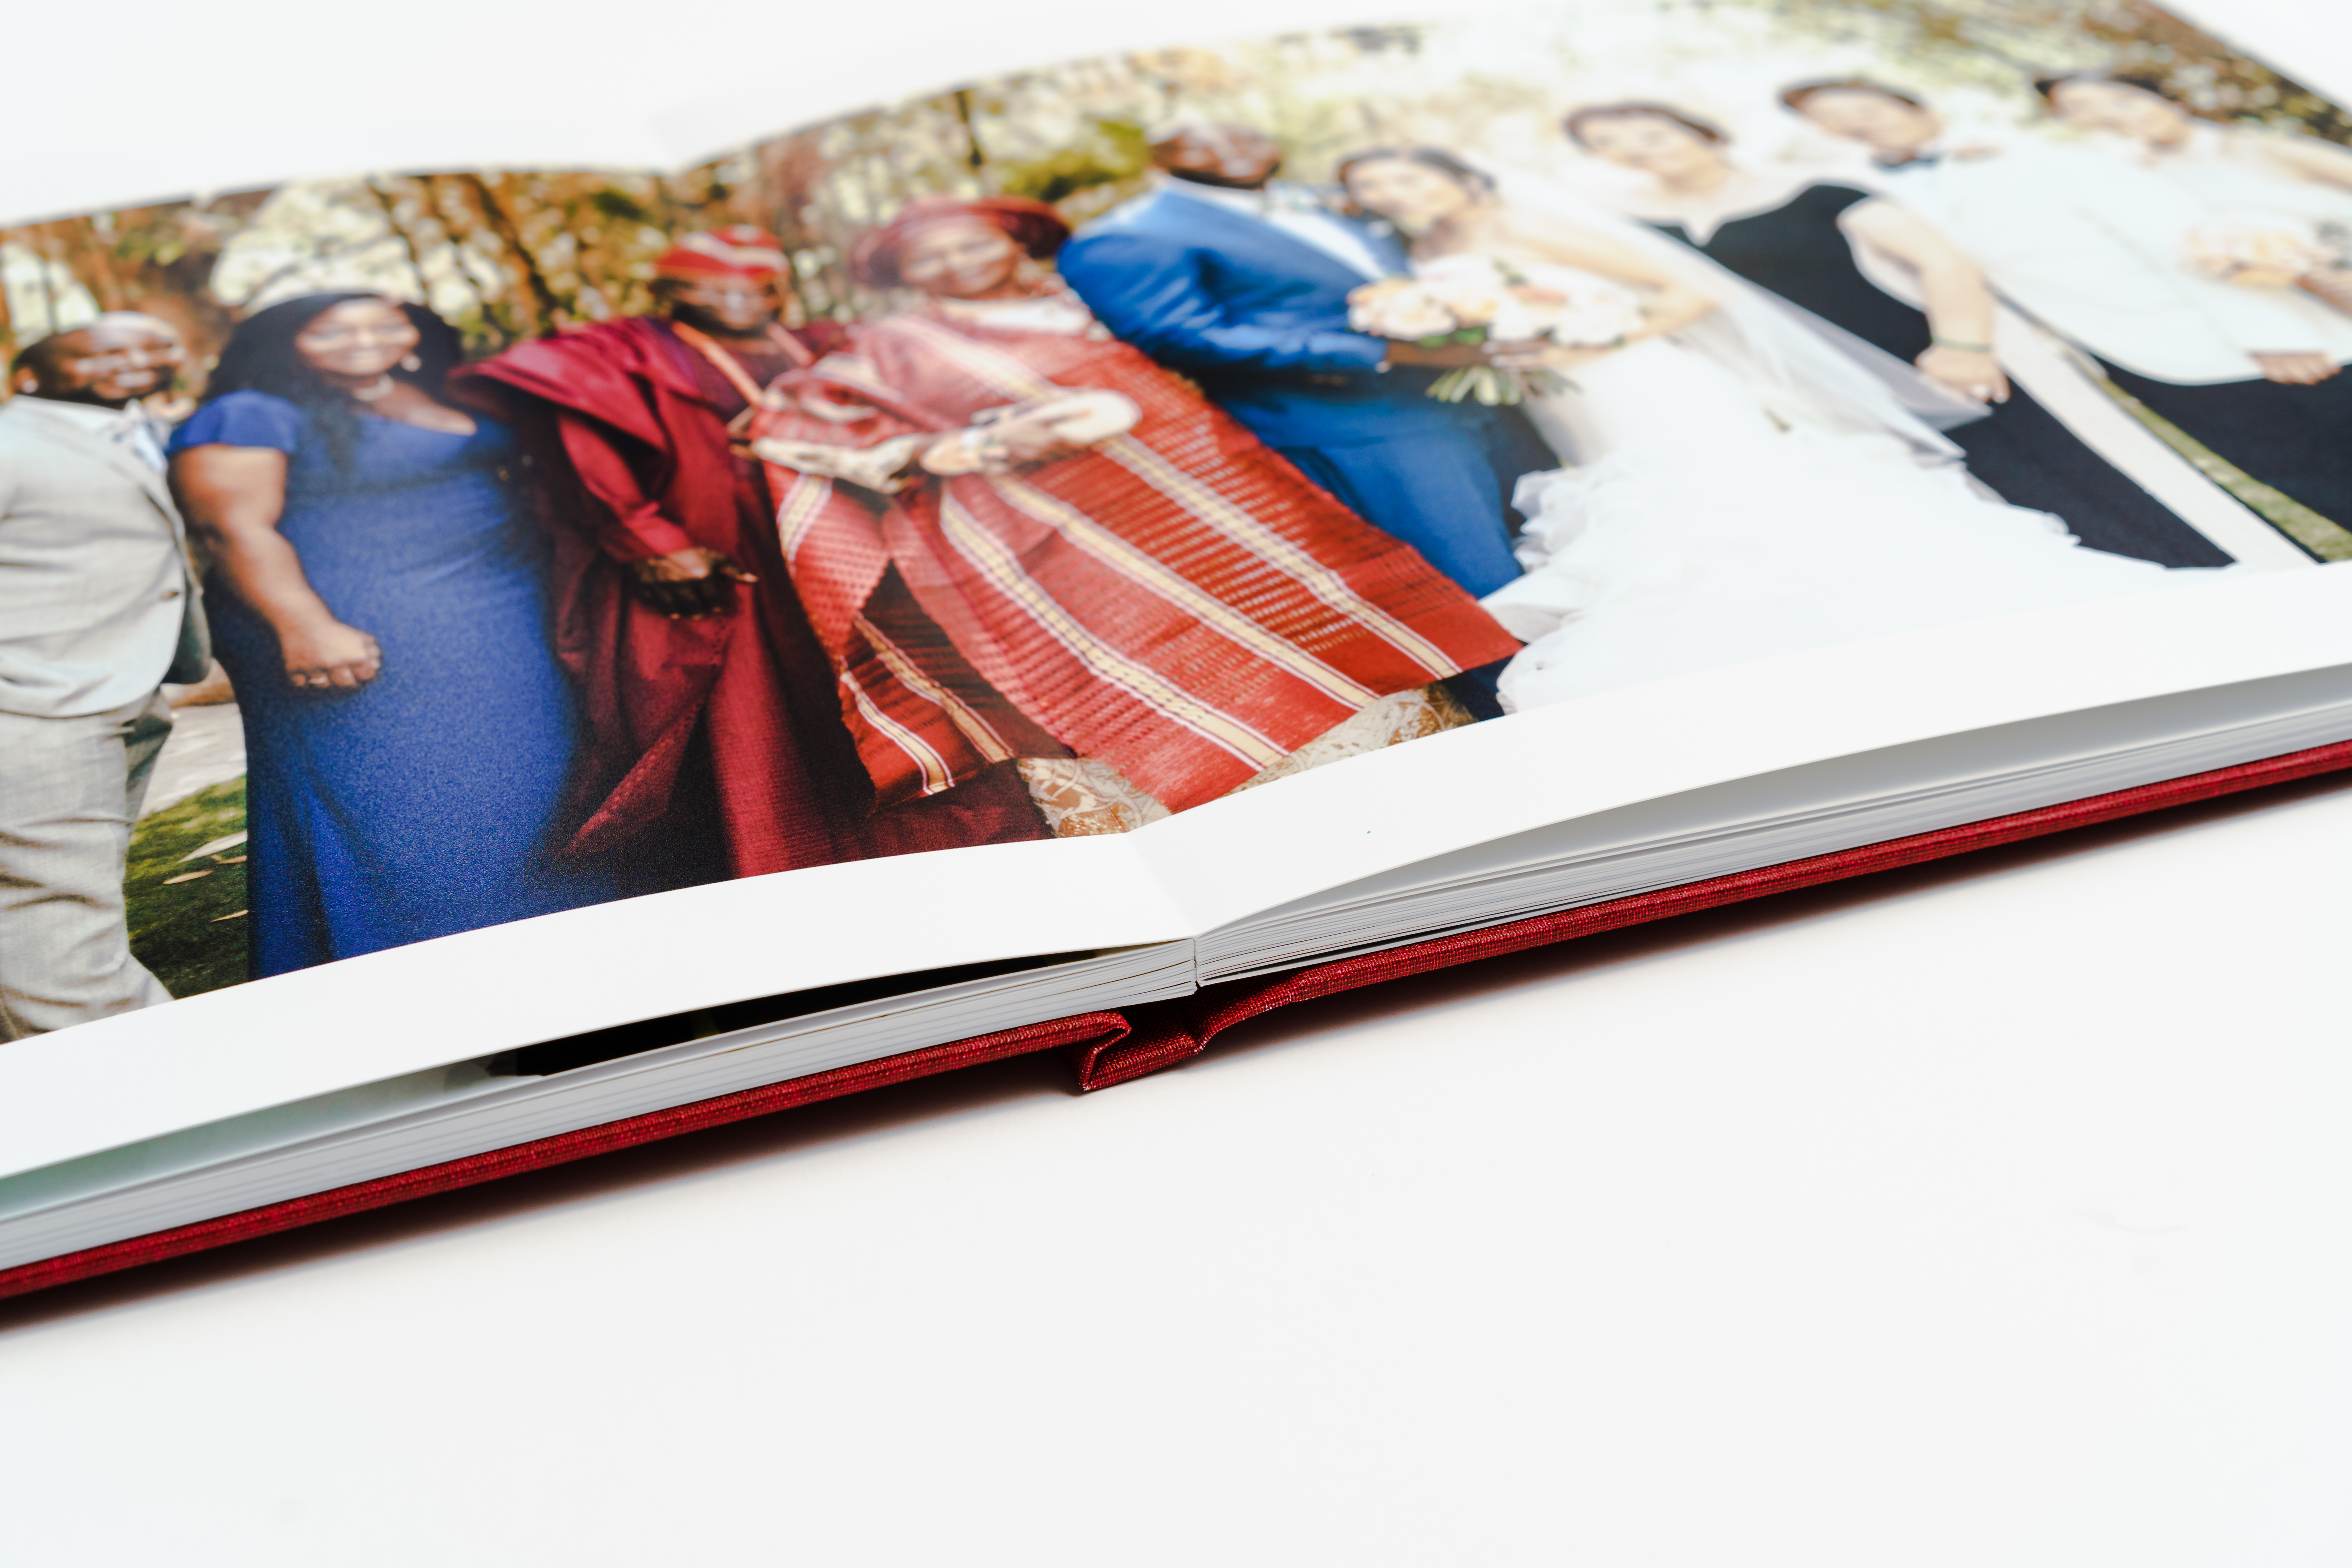
Now that all the hard work of organizing and digitizing your old family photos is done, it’s time for the fun part – designing a customized family photo album. This is a stunning way of ensuring that those treasured family memories don’t end up being forgotten on a computer hard drive or up in the cloud!
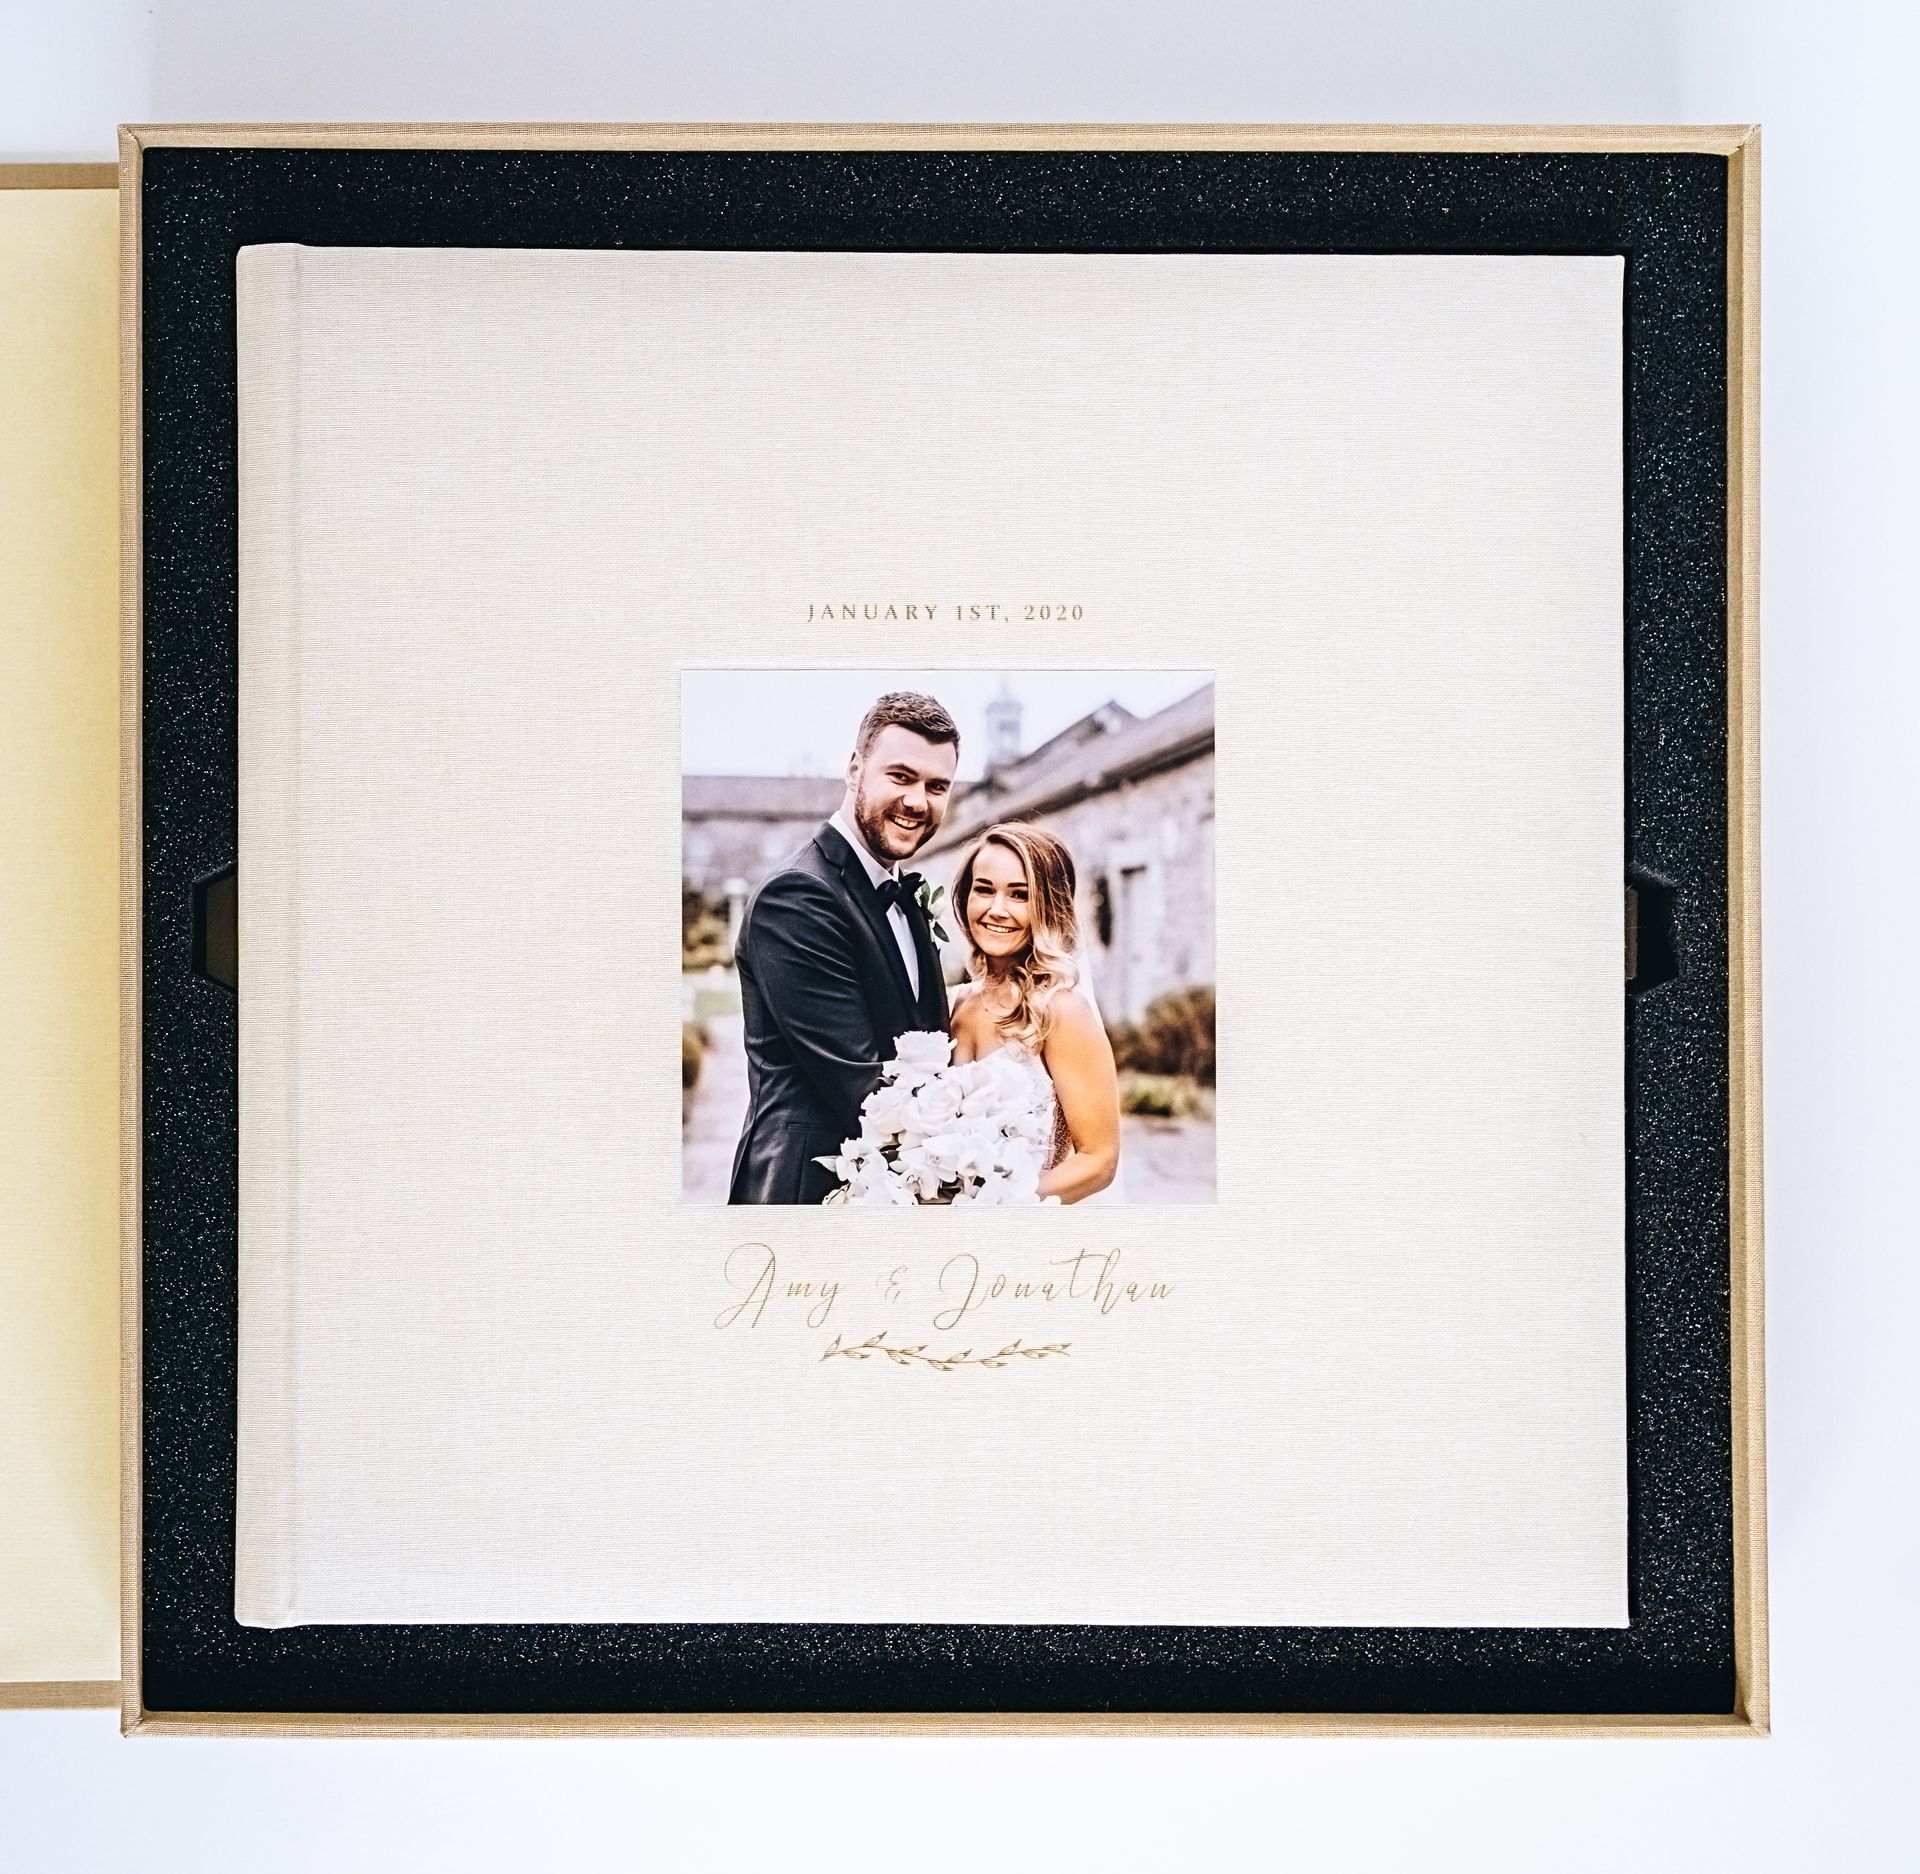
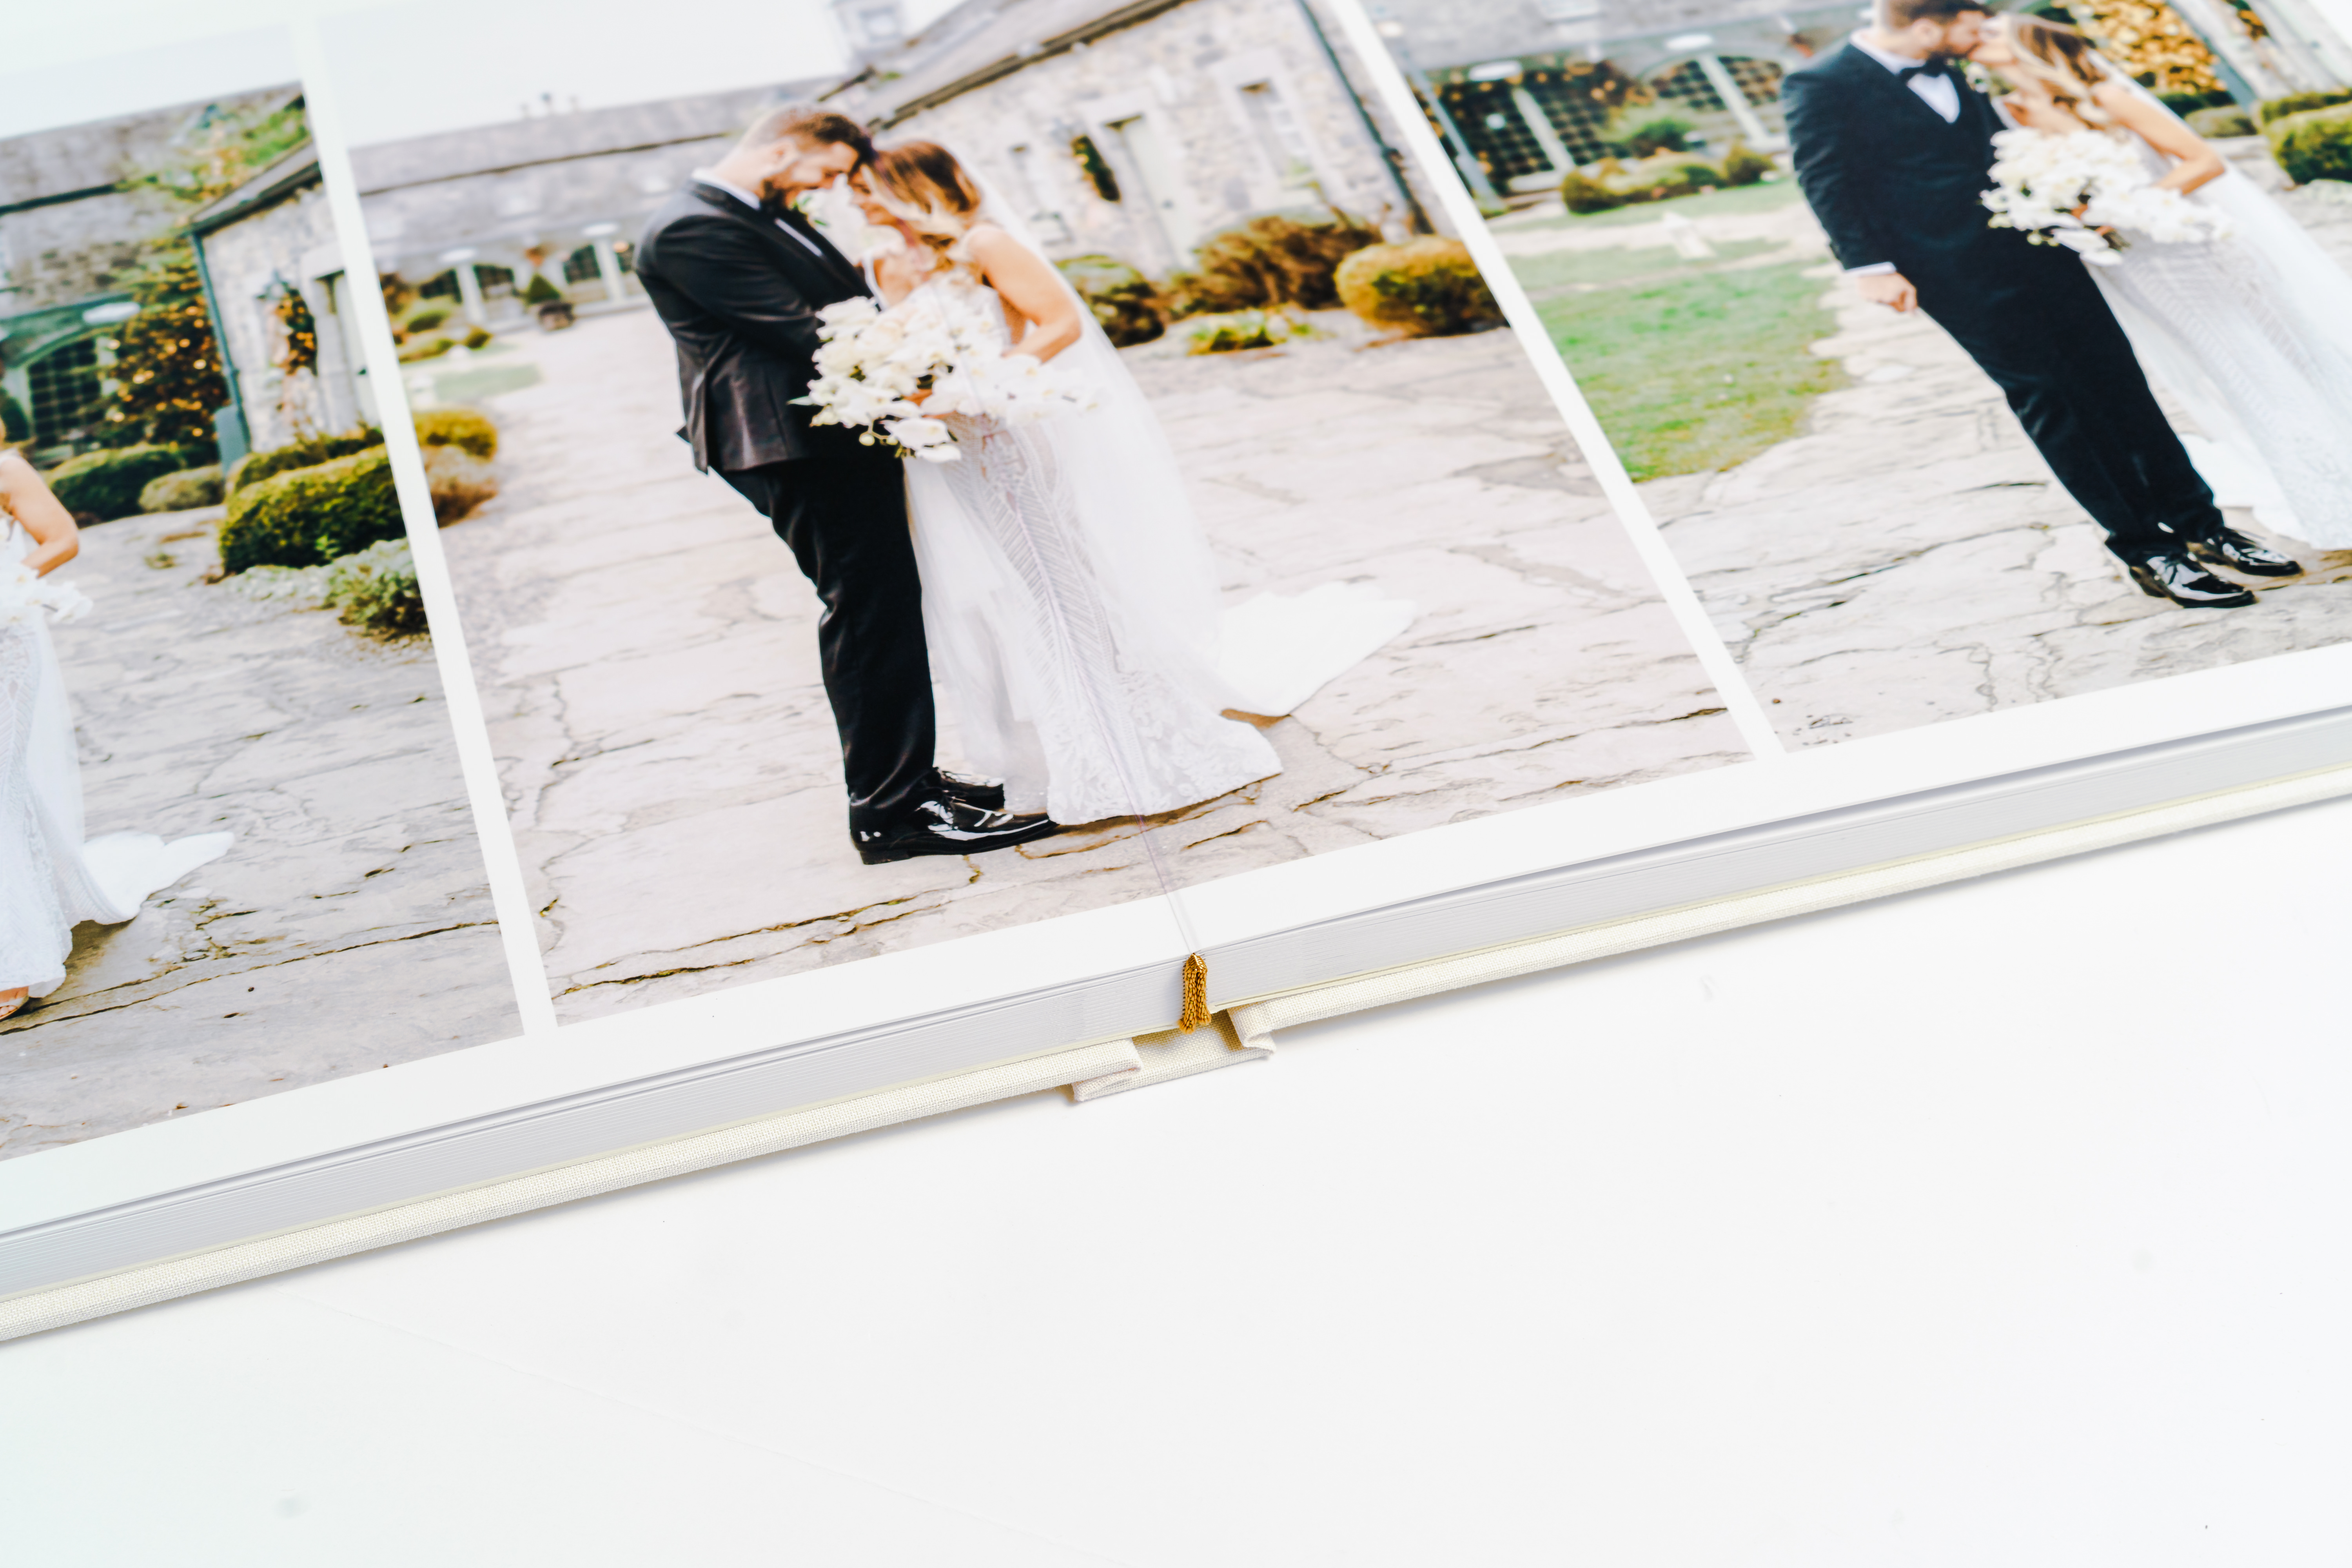
When it comes to making a photo album, there are plenty of options available, whether you’re after a simple photo book or a luxurious album that will become a family heirloom. All you have to do is upload your selected images and share your ideas with an experienced designer, then let them work their magic to create a truly personalized family photo album. They’ll then get back to you with a layout, to which you can request changes until you are 100% satisfied with the results.
Creating a photo album of your family memories is a simple way of bringing your family history to life and recognizing the role your ancestors played in where you are today.
6. Turn Them Into a Video Montage
Another great way to share your family memories is with a video montage, which can be created online using a number of free services such as Clipchamp or Canva. All you have to do is upload your scanned photos, add any text you want to include, then select your preferred method of transitioning between photos. Perhaps add a musical track that suits your mood and export your video montage, ready to share!
7. Turn Them Into Fun Gifts
By preserving your old family photos, you’ll also have an arsenal of personalized family gifts when birthdays and the holiday season rolls around. You can transform a photo of your grandparents’ wedding into a jigsaw puzzle, make your adorable baby photos into phone cases or have your old family images transformed into cake centrepieces. The options really are only limited by your imagination!
Here at PikPerfect, we believe that the most elegant way of showcasing your old family photos is with a custom photo album that can be passed down through the generations. Not only do we offer a streamlined design process with experienced professionals but we can craft matching presentation boxes that will stand the test of time.