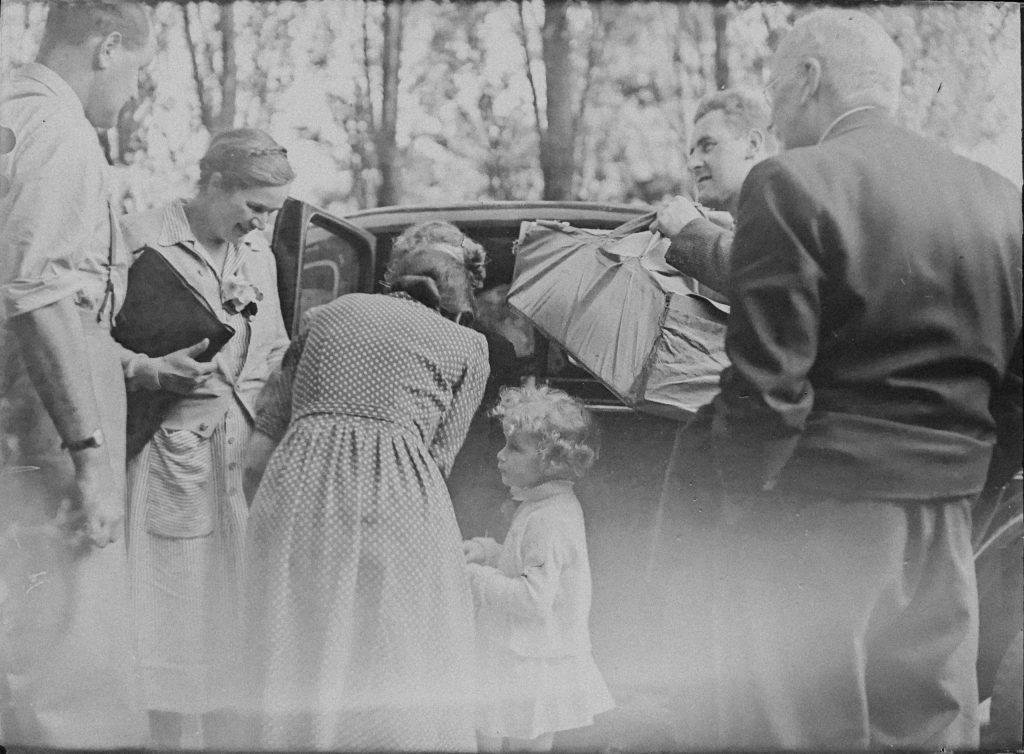
Once upon a time, a photograph was something we deliberated over to get the perfect composition so we weren’t wasting valuable film. Then there was the expectation of having your film developed and slipping those precious moments and portraits into a photo album.
But since the advent of cell phone cameras and the accessibility of digital cameras, photo-taking has taken on a whole new meaning. Today, there are countless ways to capture photos and memories of everyday life….and we have thousands of images stored on our devices as a result! So when it comes to sorting through and organising images to make your own photo book, the task can go from enjoyable to overwhelming.
Where do you even begin when it comes to managing your files and how can you establish a photo organising system that’s proven to work? In this guide, we’ll share with you our insider tips and tricks so you can keep your most treasured memories safe and have them at the touch of a finger when you’re ready to print or present them in a custom photo album.

Managing your photos 101
Chances are you’re snapping photos on multiple devices – a cell phone camera, a tablet, a point-and-shoot or a DSLR – which puts a spanner in your photo organising system from the get-go. So the first thing you need to do is make sure you’re uploading all your photos to a single device (a laptop or desktop computer) and they’re stored in the one place. Once there, you can either store them on the device or back them up on an external hard drive and/or cloud storage, just in case your computer dies.
Have you ever looked at a photo but couldn’t pin-point when or where it was taken? To make managing your photos easier, ensure the date and time on your camera (whether it’s a phone or DSLR) are accurate. This will mean your images will be sorted chronologically once you upload them to your laptop or computer and you’ll be able to figure out exactly where you were.
Another important tip is to delete any bad photos or unwanted duplicates as soon as possible so they’re not taking up unnecessary storage space. If you’ve taken multiple shots of the same thing, select one or two of the best and bin the rest. If you’ve got out-of-focus images, someone’s finger is in front of the lens or it’s just a bad shot, get rid of it straight away!

Naming your images
One of the most important steps in an organised file management workflow is naming – more specifically, consistent naming. Decide on a naming structure that works for you (and that you will remember), then stick to it!
A popular naming convention incorporates the date the photo was taken, plus a location and subject. For example: YYYY-MM-DD-Location-Subject. Even if you decide to move your photos into another folder, they’ll still remain in chronological order and you’ll known where they were taken.
Alternatively, you may prefer to name your images based on the location/event where they were taken, then store them in a folder with the same title. Naming your images as soon as you upload them to your laptop or computer is a good habit to get into before you forget when and where they were taken.
Once you’ve sifted through your images, deleted poor-quality ones and implemented your naming system, it’s time to back-up again! After all that hard work, you wouldn’t want to lose your (meticulously organised) photos, would you?

Scanning old photo prints
If you’ve lived through the pre-digital age, chances are you also have some old photo prints that you want to organise or add to a family photo album. Maybe you’ve inherited photos of your grandparents on their wedding day or your parents as babies. It’s easy to scan old photos into digital files that can be added when you make your own photo book online.
After you’ve selected the photo prints you want to scan, use a microfibre cloth to gently wipe off any dust, ensuring they’re in the best condition for scanning. If you have a printer at home, you may be able to scan directly to your computer. Another option is to have them professionally scanned, which will give you the highest quality results.
Once you’ve scanned your photo files, name and back them up just as you would with digital files.

Design a personalised photo album
After you’ve done the hard work of organising your photo files, it’s time to leave them on your computer drive and never look at them again. No! It’s time for the fun job – creating a custom photo album so that you can regularly appreciate your photos and reflect on the moments they captured.
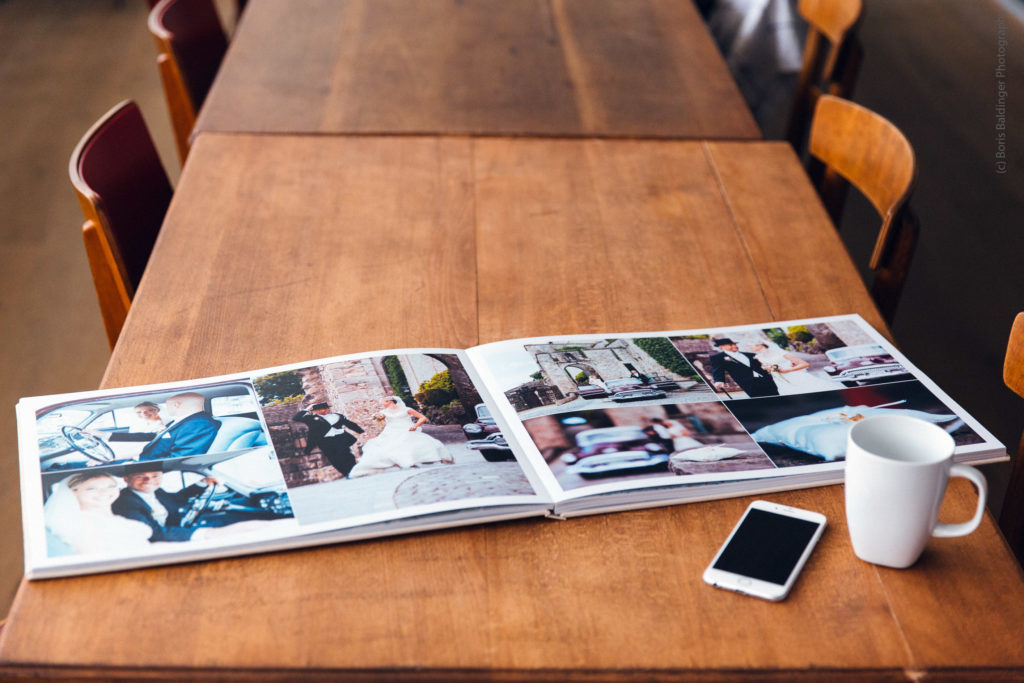
There are so many options available when it comes to creating a gorgeous photo album online. You can select between a flush mount album or layflat photo book that reflects your style and will accommodate the number of images you want to include. Add to that a high-end cover to create a sophisticated leather-bound photo album or textured linen photobook, with optional acrylic glass fronts or cameo windows where you can add feature images. When you make an online photo album with PikPerfect, you also get a free digital version of the album so you can share your photos with family and friends through your social media channels.
If you’ve still got more photos than will fit in your desired album, why not take advantage of PikPerfect’s Photo Selection service to whittle down your options. Our skilled editors will select the best images (based on your personal preferences), then you’ll have the option to review and change any images as you desire.
Our Photo Selection service does the burdensome task of sifting through countless photos for you and helps to identify the best shots through a professional’s eye. And the best part? There’s no need to have a structured naming system in place. Simply upload your entire photo set to our website and we’ll let you know when the editor’s pick is ready for review. The selected images will be highlighted amidst the original set, so you can easily make changes if any of your favourites didn’t quite make the cut.

Share your images with the world
Establishing a photo organising workflow doesn’t have to be difficult and with a little effort, you’ll save yourself a lot of time and unnecessary stress later down the track. Remember, the photos you capture every day are memories of the people and moments that make up your life and should be treated with the care and love they deserve. So rather than lose track of them or let them languish on a computer drive, take a little time out to organise them, ready for when you want to share them with the world.


